

In 2020 I got really, REALLY into the world of 3D printing. And that also happened to coincide with getting overly obsessed with Animal Crossing.
I also found out last year that I have raging ADHD and hyperfocused obsessions are a big part of ADHD. This blog alone is a testament to that, I went HARD on crochet for awhile and got absolutely bored of it quite suddenly. I have many hobbies like that. I'm currently working on medication options but I also kind of like myself the way I am. I don't mind having a carousel of hobbies I cycle through intensely. It's also probably why this blog doesn't really have a cohesive theme, it's kind of whatever I'm feeling. But I'm not out to be a professional blogger or anything, I just like to share ideas and techniques I thought were neat at the time.
When Animal Crossing New Horizons came out I wanted to 3D print my favorite villager, Fauna. She is a super sweet deer who will make your heart bigger. Surprisingly, no one had yet made Animal Crossing figures that were 3D printable. I decided to give it a go myself. I downloaded the T-posed model from the mobile game Pocket Camp and set to work trying to pose it and make it 3D printable. Progress was slow. Just getting her arms from straight out to down felt impossible for a good while.
I finally had a breakthrough with an old but free program called Sculptris, made forever ago by the makers of ZBrush. Through masking and the move tool I managed to pose her. I added a base and cut it in half in the stock 3D program with Microsoft and it actually printed on my printer.


Clearly I needed to make more! I want everyone with access to a 3D printer to be able to print their favorite villager.
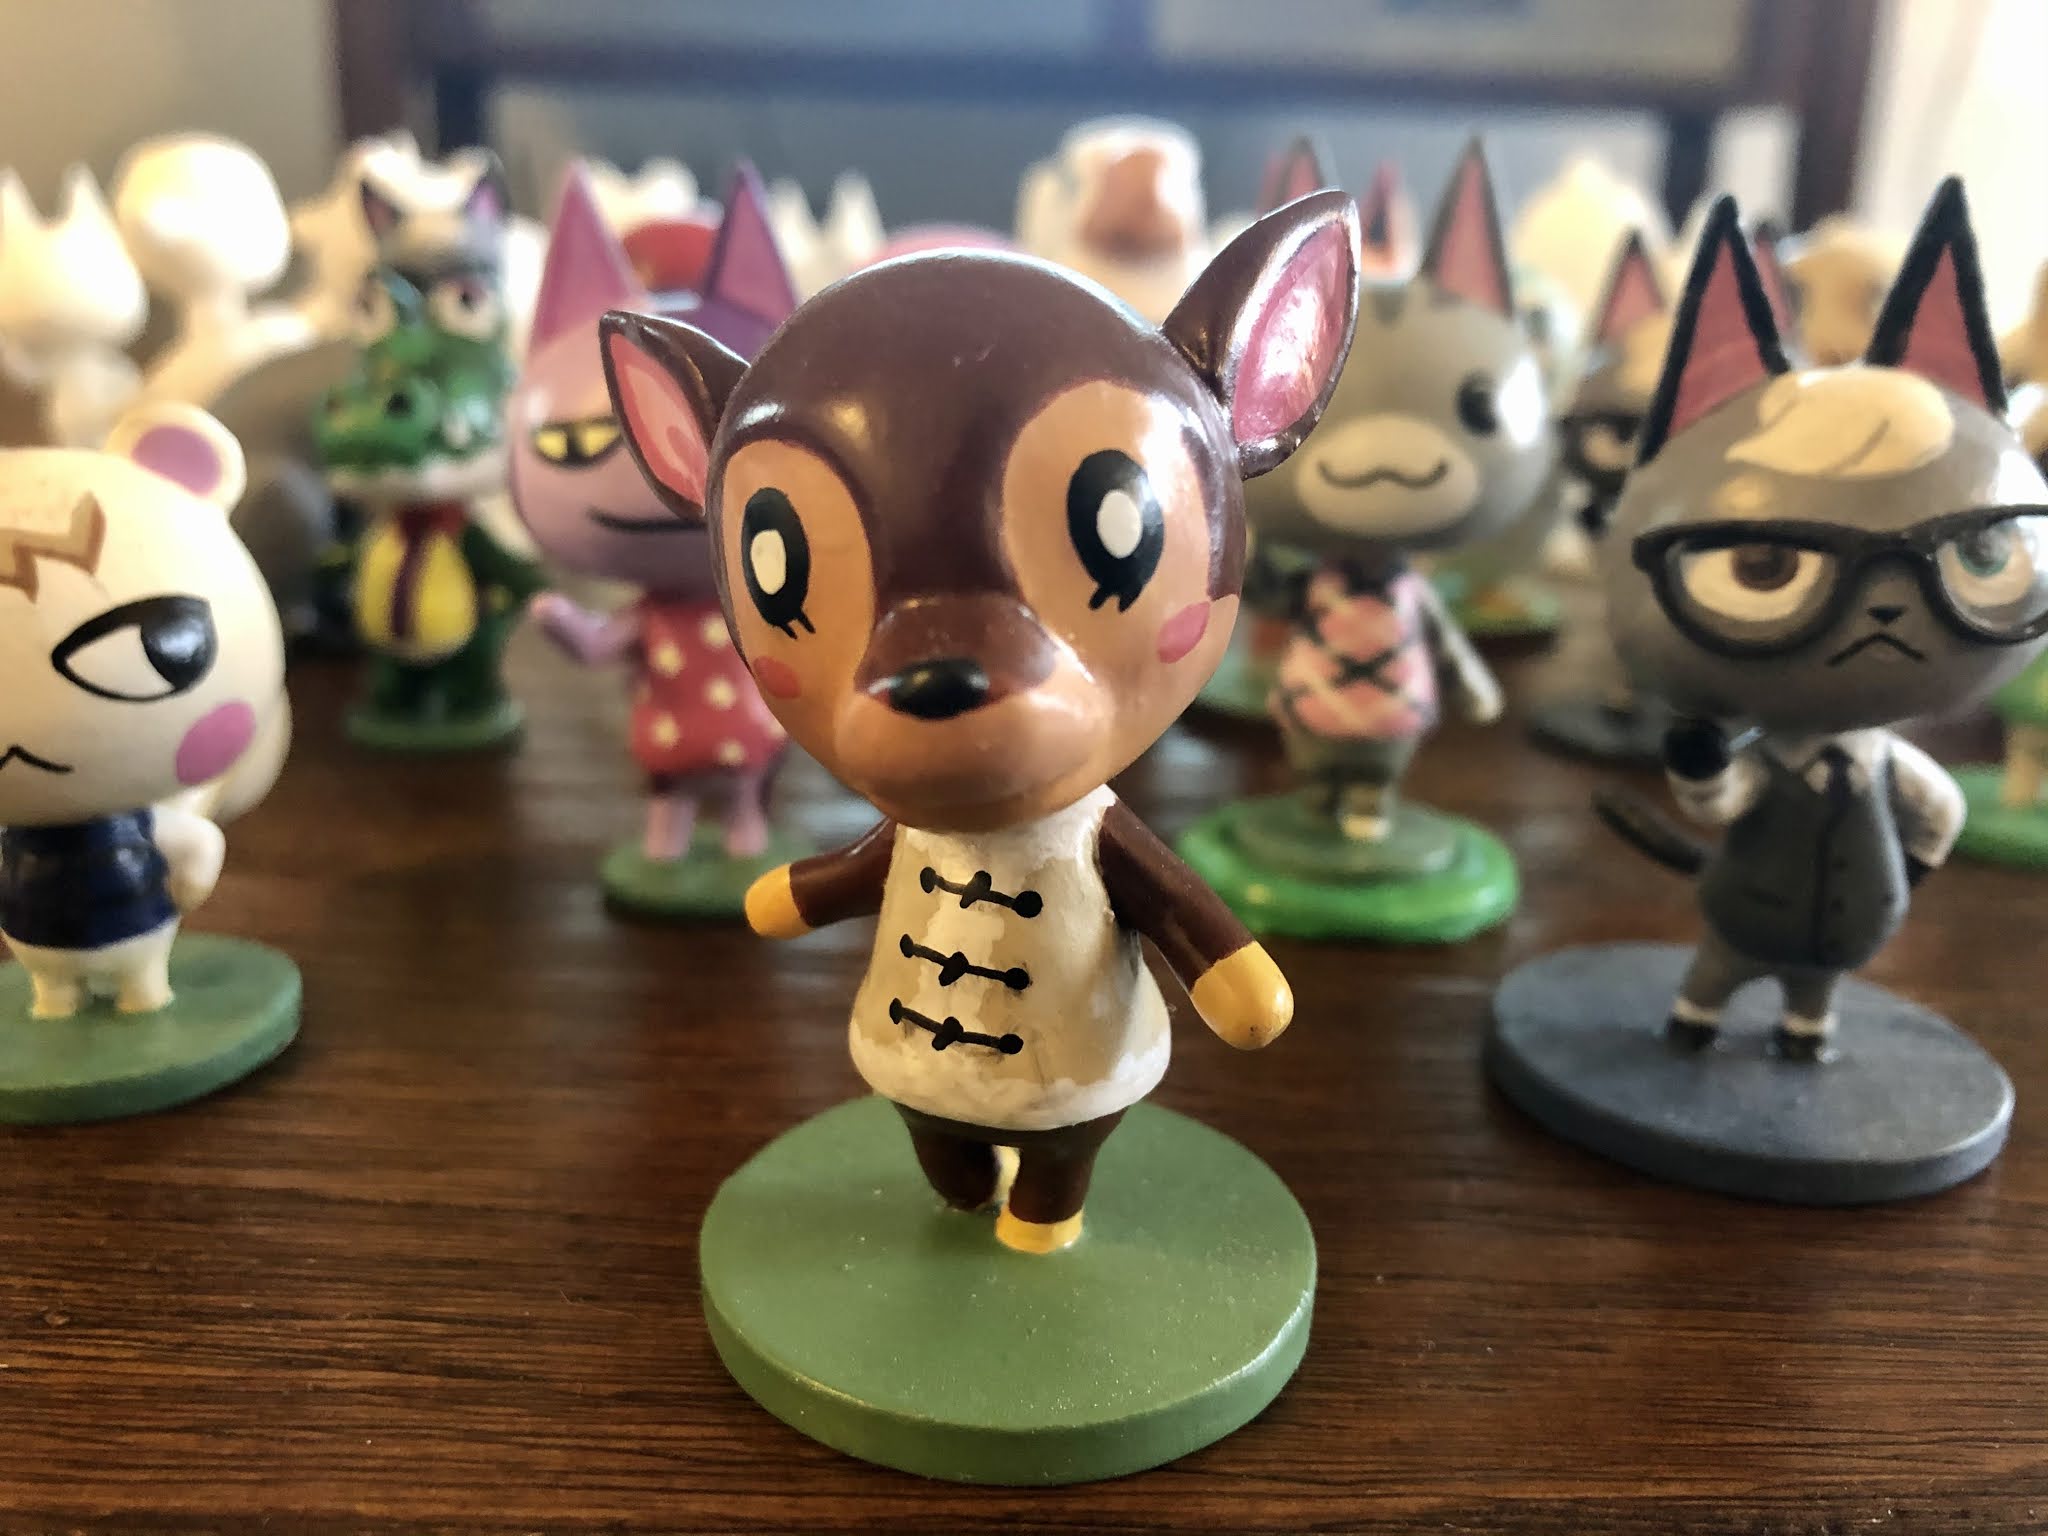
I printed almost all the models to make sure they worked. Some I've painted, some I've sanded and primed, and some I've just done some initial clean up. I have a few wooden boxes full of these figures and they aren't bringing joy to people just sitting in my house. I've decided to sell them off at a nice discount. The following will be a write up on how I process and paint my figures for anyone that buys an unfinished one from my Etsy store or prints one themselves.
First things first, why do I print the figures in two halves? Why don't I just print them as one piece? Well two reasons. First, the 3D printer makes removable, supporting structure for anything that overhangs. The arms and heads have a lot of this structure, so it has something to print on as it’s adding layers. When you remove this supporting material it leaves roughness and defects on the print. By cutting it in half and printing the flat side down, it vastly reduces the amount of support material necessary and results in a smoother finish. The second reason is strength. The thin places, like the legs and neck, are weak when printed as one piece. The printer adds material layer by tiny layer, horizontally, and that creates a weakness on the horizontal plane. Thin areas will crack and break along these lines with surprisingly little force. By making the horizontal plane vertical (by having the model lay sideways on the bed) it adds a lot more durability and strength to those small parts. Though that’s not to say it’s indestructible, I accidently dropped a figure and stepped on it and it was very sad to have to throw it in the recycling.
My models are printed, cleaned up with flush cutters, glued together with Loctite superglue, then the seam is filled
with Perfect Plastic Putty. This putty is high quality and cost effective but water dissolvable,
so it's not a good idea to dip the figure in water.
When glueing line up and glue the base first, and let dry. Then the head and the rest. That lets you correct for any warping.
Next steps are sanding and priming. You don’t have to sand if the layer lines and occasional rough spot of the print don’t bother you. Go ahead and throw on a coat of white primer and paint. But if you want a smoother result it’s time to sand. I use three grits of dry/wet sandpaper (gray type), 240, 500 and 1000. Start with the lower number (rougher) sandpaper. Scrub the figure down with special attention to the rougher spots. Then move to the next number, then the next.
At this point you have two options. You can get a regular white primer (I use Krylon ColorMaxx White Primer) spray it (OUTSIDE) and then you’re good to paint it within a day. If, however, you’d like an even smoother surface, the next step is Rustoleum 2n1 Filler and Sandable Primer. Spray the figure, wait a few hours. Now get the sandpaper back out and put on a mask. Your covid mask is fine you just don’t want this stuff in your lungs. Go outside and use the sandpaper in the same order again. You can even get the sandpaper wet for even more smoothness. Just remember that the Perfect Plastic Putty Filler in the seam is water solvable so do be careful to not over wet those sections. Once that’s done you can spray it with a white primer and be ready to paint.
Acrylic paint is my go to for painting. The cheap craft
paint from Walmart works fine and is the most cost effective. However, you must
thin the paint with water. It will look chalky and bad if you slather it on at
full thickness. I’ve painted many figures with cheap acrylic craft paint with fine
results by thinning the paint to a milk-like consistency. If you want to get fancy with it and use paint meant for miniatures, I
suggest Vallejo paint. More expensive but it is higher quality.
The important part to remember with painting is to build up
in layers. Start with base colors. If your character is primarily blue, put on
a thin coat of blue, let it dry completely, then add another layer. It really
does pay off in the end. The number one mistake newbies make when painting
miniatures is to add on paint too thick.
Add details at the end. You can thin the paint a little less for finishing details, think a honey-like consistency. Even if you make a mistake, you can always paint over it. Take your time.
Once you have the paint job how you like it, it is time to
put a protective clear coat. Make sure all the acrylic paint is completely dry.
I use ColorMaxx Crystal Clear Flat. This stuff pretty much melts down your
paint and can even smooth out some imperfections. It is imperative you DO NOT
touch it until it’s completely dry. It will rip all the paint off if you touch
it early. I ruined a beloved project with this mistake and it still kind of
hurts tbh.
Hope this is helpful and good luck!


MMOWTS has always been known for its high-quality service and affordable Animal Crossing Bells. Players can buy the Animal Crossing Bells they need here. This is simply too convenient.
ReplyDeleteWe know our rights and fight for it frequently but don't even bother to know about the rights of our fellow creatures. Animal rights have gained importance today as we are developing. This article gives a detailed look on Animal rights. www.elevage-oie-tricard.com/maps/
ReplyDeleteWhen you think of an animal healer, you tend to think of someone who heals animals physically such as when they are sick and injured. But a true animal healer is someone who does more than just heals aches and pains. It is a spiritual person who heals everything from the body to the mind. puppy life
ReplyDeleteIf you're planning to print A0 Posters or A1 Posters online or any A0 or A1 print it's made a lot easier by using online printing companies. We all know that A0's and A1's are the two largest printing sizes when it comes to the printing industry. 3dm8
ReplyDeleteMMOWTS will also hold discounts on some special festivals. If you buy Animal Crossing Bells on these days, you have the opportunity to enjoy additional discounts.
ReplyDeleteA debt of gratitude is in order for sharing the information, keep doing awesome... I truly delighted in investigating your site. great asset... 3D printing service
ReplyDeleteThis is an excellent post I seen thanks to share it. It is really what I wanted to see hope in future you will continue for sharing such a excellent post. EPS Machine
ReplyDeleteI utilized it for a month and saw a discernible distinction in myself. Presently I don't short of going out with my companions and so forth. print brochures for cheap
ReplyDeleteThe CSOne is web-based maintenance management software designed for maintenance and repair service providers. It is specifically designed to fulfill the requirements for these services and successfully improved productivity of thousands of users around the world 羅氏鮮網購
ReplyDeleteHey, I love your work!! I noticed you have almost every villager type, minus a few. I share a birthday with the hippo type villager and i want to print it for my birthday! can you help me learn how you designed these or maybe we can work together on the project? I really hope you see this, I'm very inspired by your work. I'm also obsessed with both 3D printing and AC. thanks so much in advance!!! :D - jess
ReplyDeleteWow! So cute! Hey you should do more games stuff! Love all your animal crossing stuff at thingiverse!
ReplyDeleteHi I am so glad I was able to find your blog, as I've been looking for the villagers! Just wondering if you will make hippos and monkeys as they're the only villager types you have left out! Thank you so much!
ReplyDeleteIf you want ideal results, I would like to recommend you to use enclosure for your 3D printer. Just like you can use SUMO enclosure for your Prusa XL.
ReplyDelete"I appreciate the user's encouragement of blogs that foster a sense of community, collaboration, and mutual learning among readers. It's a positive contribution to building online networks."
ReplyDeletehttps://www.discountdrift.com/promotions/
"I admire the user's support for blogs that promote positive relationships, effective communication, and conflict resolution skills. It's a reflection of their commitment to fostering healthy interactions."
ReplyDeletehttps://couponsstudio.com/
Cool
ReplyDeleteoh well, Alicia silverstone is matured nowadays but when she was still younger, she is the sex symbol of hollywood` double edged sword
ReplyDeleteYour blog never ceases to amaze me, it is very well written and organized.;-:~. How Old to Get a Hotel Room?
ReplyDelete